
What is CAD?
All manufactured objects in this world came from a simple idea. However, ideas don’t form into objects/products right away. It is essential to understand how an object is designed before starting the manufacturing process. Every physical product on the market, no matter what the product is, uses CAD to design the object before manufacturing.
CAD stands for “Computer-aided design” and is most often operated through software. These softwares include tools that allow engineers to design, visualize, and simulate three-dimensional objects from their computers. Engineers design objects using CAD to use as a “template” for the manufacturing processes that follow the design. Simulations are used to test models for different tolerances. This helps engineers test their design and how it reacts to factors like heat, aerodynamics, fluids, static and dynamic stress, motion, and more.
All forms of engineering require immense accuracy and precision. For this reason, all CAD softwares include very accurate and precise tools for almost all forms of engineering, including the use of precise measurements for almost any action. The accuracy of these tools is often what defines how reliable different softwares are.
5 Steps to Learning CAD
Learning CAD software for the first time may seem very overwhelming. Different CAD programs work in different ways, have different layouts, different tools, etc. It’s important to follow these 5 steps when learning how to use CAD software for the first time.
Step 1: Choosing a Software
The purpose of CAD is to design objects and systems with the best accuracy, precision, and efficiency. Most engineers use very powerful CAD programs that are hard to use. When first getting into CAD, it’s best to choose a software that’s free and simple to use. Step 1 of learning CAD is to find a software to start out with that match the mentioned criteria.

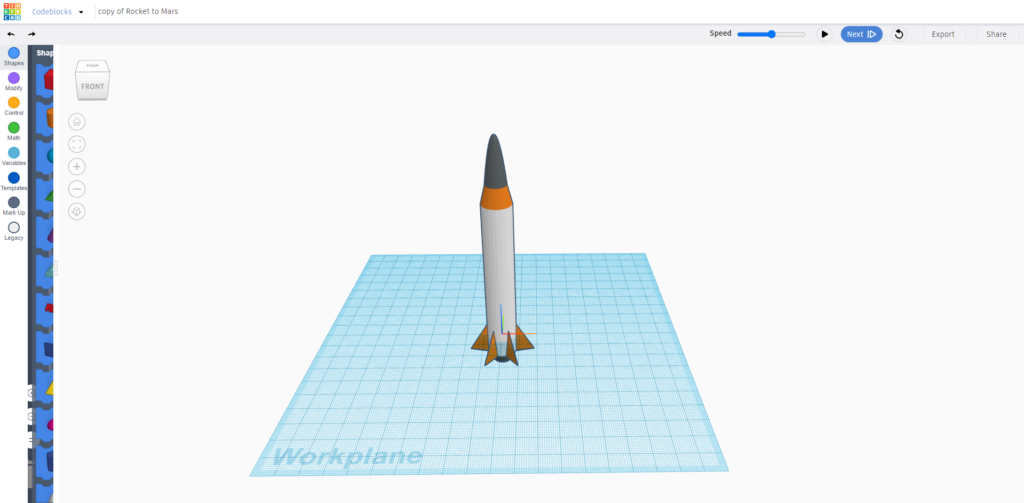
If you’re looking for a free CAD program that runs on web, some good options are SketchUp Web and Onshape. If you’re a student, Autodesk Fusion 360 is a great option as it’s free to use for students. If these programs seem too complicated to you, you should start at Tinkercad to get a general, more simplified feel of a CAD workspace.
It’s best not to start with advanced CAD programs like SolidWorks, Inventor, Catia, Siemens’ NX, etc. First of all, these programs are pretty expensive and probably over the budget for a hobbyist. Secondly, while these software are very powerful, that makes them all the more difficult to use. More tools cause more confusion, and you’d be left with no sense of direction.
For more help choosing the best software for you, here are the 5 best 3D CAD programs for beginners.
Step 2: Play Around
The very first thing you should do after downloading your CAD software is to play around with the workspace and the tools. In general, most CAD programs share the same basic tools: Line creation, shape creation, extrusion, move, etc.
Play around with these tools and try to figure out how some of these tools work on your own. For more advanced tools, it’ll be harder to use them without referring to a tutorial. Playing around with the software also gives you a feel for the keybinds and mouse controls. Different programs may have different keybinds or mouse controls, so its good to identify common keybinds and maneuver around the software with the orbit and pan tools.
Eventually, after playing around with the software for a while, you’ll need a better sense of direction. That’s where step three comes in.
Step 3: Find a Guided Tutorial
Tutorials are great for getting a better sense of direction for the software you’re learning. Experienced users can help you learn more tools and features as well as how they work.
For example, let’s take Blender, a 3D modeling software. Although not technically CAD, blender still embodies many characteristics that other CAD programs possess.
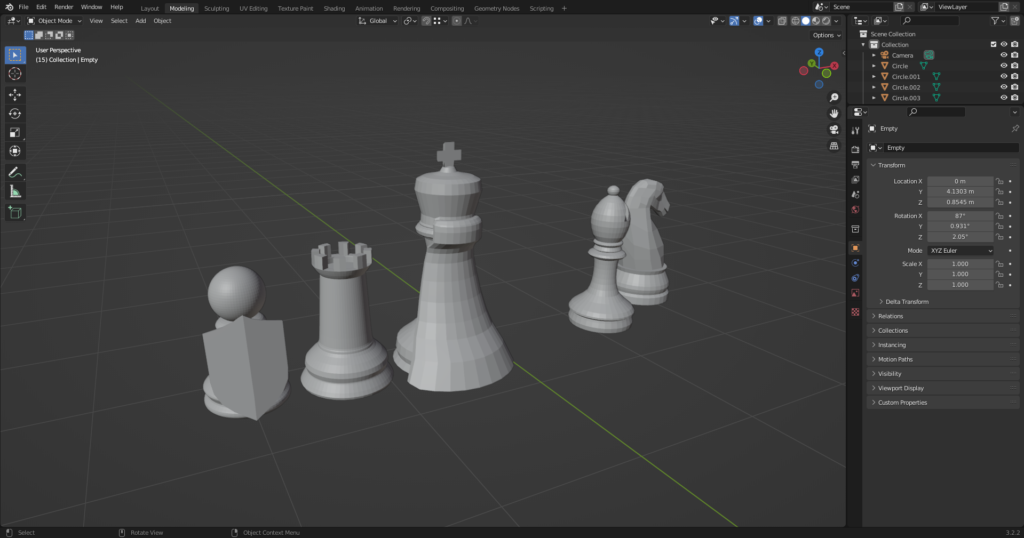
Playing around with Blender for the first time will always be a complete pain. The workspace is confusing, there’s a lot of tools and features, different types of design workspaces (modeling, shading, geometry nodes, etc). However, with some guided tutorials, new learners can be well on their way to understanding Blender and starting new projects.
Step 4: Start Guided Projects
After watching tutorials on the software you’re learning, it’s best to start creating projects guided by some of these tutorials. Guided projects are a great way to learn how to use the most important tools and features of a given CAD program.
One of the most popular examples of this is Blender Guru’s Blender tutorial for complete beginners, where he guides new Blender users towards modeling a realistic doughnut. This series, and other beginner project series, effectively teach beginners how to use the tools provided effectively, while also creating something they can be proud of.

Watch a few tutorial series and create some projects guided by these series. With each new project, you’ll learn new skills, features, and tips that will contribute to your success in the future.
Step 5: Start Your Own Project
After completing enough guided projects, you’ll likely start to feel more confident with your new CAD skills. At this point, it’s finally time to sway from the guided path, channel your creativity, and use your CAD knowledge to start creating. Brainstorm ideas for projects that interest you. Maybe you want to 3D print something practical that could solve a problem around your house. Maybe you want to create a 3D model of a character or object. There are so many personal projects you can start with CAD.

As you create these projects, you’ll start to get a better feel for the software, learn new tips and tricks, discover new features, and create things by not only using your skills, but also your creativity. Creativity is something that makes someone a great CAD designer. Completing personal projects without significant guidance or assistance is the best way to develop creativity.